
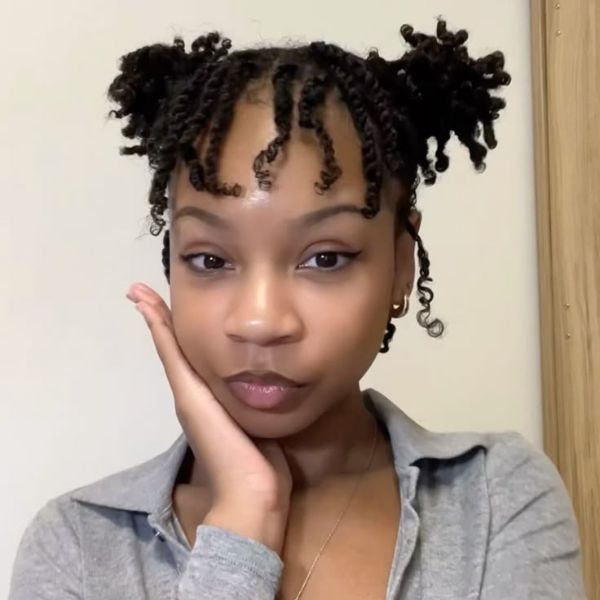
Twisting your natural hair is one of the most popular and versatile styles for Afro hair. Whether you're going for a low-maintenance look, a protective style, or you just love the way twists define your curls, learning how to twist Afro hair is a skill that every naturalista should know. The beauty of twists is that they’re suitable for just about everyone, whether you're rocking a short Afro, shoulder-length coils, or longer kinks and curls. Once you master the art of twisting, you'll find it becomes a go-to style in your natural hair journey.
In this post, we’ll break down how to twist Afro hair at home. Whether it's your first time doing them or if you just need a refresher, we’ve got you covered. So, let's get into it.
Why Twists Work So Well for Afro Hair
Twisting has many benefits. It’s a way to show off your curl pattern, protect your hair from breakage, and keep things looking fresh without needing heat or constant manipulation. Twists are also incredibly versatile, you can wear them as-is, style them in many ways or unravel them for a twist-out. Whether your hair is coily, kinky or somewhere in between, twists help to stretch your strands and keep your ends tucked away, making them perfect for maintaining length and overall hair health.
What You’ll Need to Twist Your Natural Hair
Before diving into how to twist Afro hair, it’s important to prep properly. Here’s what you’ll need:
- A wide-tooth comb
- Spray bottle with water
- Leave-in conditioner
- Curl cream
- Hair oil
- Clips or hair bands
Step-by-Step: How To Twist Afro Hair
Step 1: Start with Clean, Damp Hair
Twists hold best on damp, freshly washed hair. Use a moisturising shampoo and conditioner, then gently towel dry your hair or let it air dry until it’s damp. If your hair’s already clean, simply spritz it with water to rehydrate.
Step 2: Detangle with Care
You need to ensure your hair is free of tangles before starting. Take your time to gently detangle using a wide-tooth comb or your fingers. Apply a leave-in conditioner for added slip, then work your way detangling from the ends up to the roots.
Step 3: Section Your Hair
Use clips or hair bands to separate your hair into manageable sections. Four to eight sections usually work well, depending on your hair’s thickness and length.
Step 4: Apply Product
Working one small section at a time, apply a curl cream. Focus on moisture and definition. Follow up with an oil to lock it all in. This combo helps your twists last longer and look more defined.
Step 5: Twist Away
Split a small piece of hair into two strands. Twist them around each other from root to tip, making sure to keep the tension even. Twist tightly enough to hold but not so tight that it causes discomfort. Coil the ends around your finger to seal the twist naturally.
Step 6: Repeat
Continue the same steps, section by section until your whole head is done.
Tips for Twisting Curly Hair Like a Pro
- Size matters: Smaller twists give more definition. Bigger twists are quicker and give a fluffier twist-out.
- Keep your hair moist: Use a spray bottle to keep your hair damp while you work. Dry hair can cause frizz and breakage.
- Protect your hair at night: Protect your twists before bed with a satin bonnet or scarf to keep them neat and reduce frizz.
- Refresh when needed: If your twists start looking frizzy after a few days, just redo the front or perimeter instead of the whole head.
How Long Do Twists Last?
With proper care, two-strand twists can last anywhere from a few days to weeks. If you’re wearing them for multiple weeks, make sure your scalp stays clean and moisturised. You can also re-twist any pieces that start to unravel to keep the style looking fresh for longer.
Learning how to twist Afro hair is a must for anyone with natural curls. They look great and once you get the hang of it, it’s actually pretty easy. For more Black hairstyle inspiration, tips, and how to's on Afro hair care, explore our Afro hair tutorials.